Posts Tagged With: Fabric

January 20 Meeting Photos

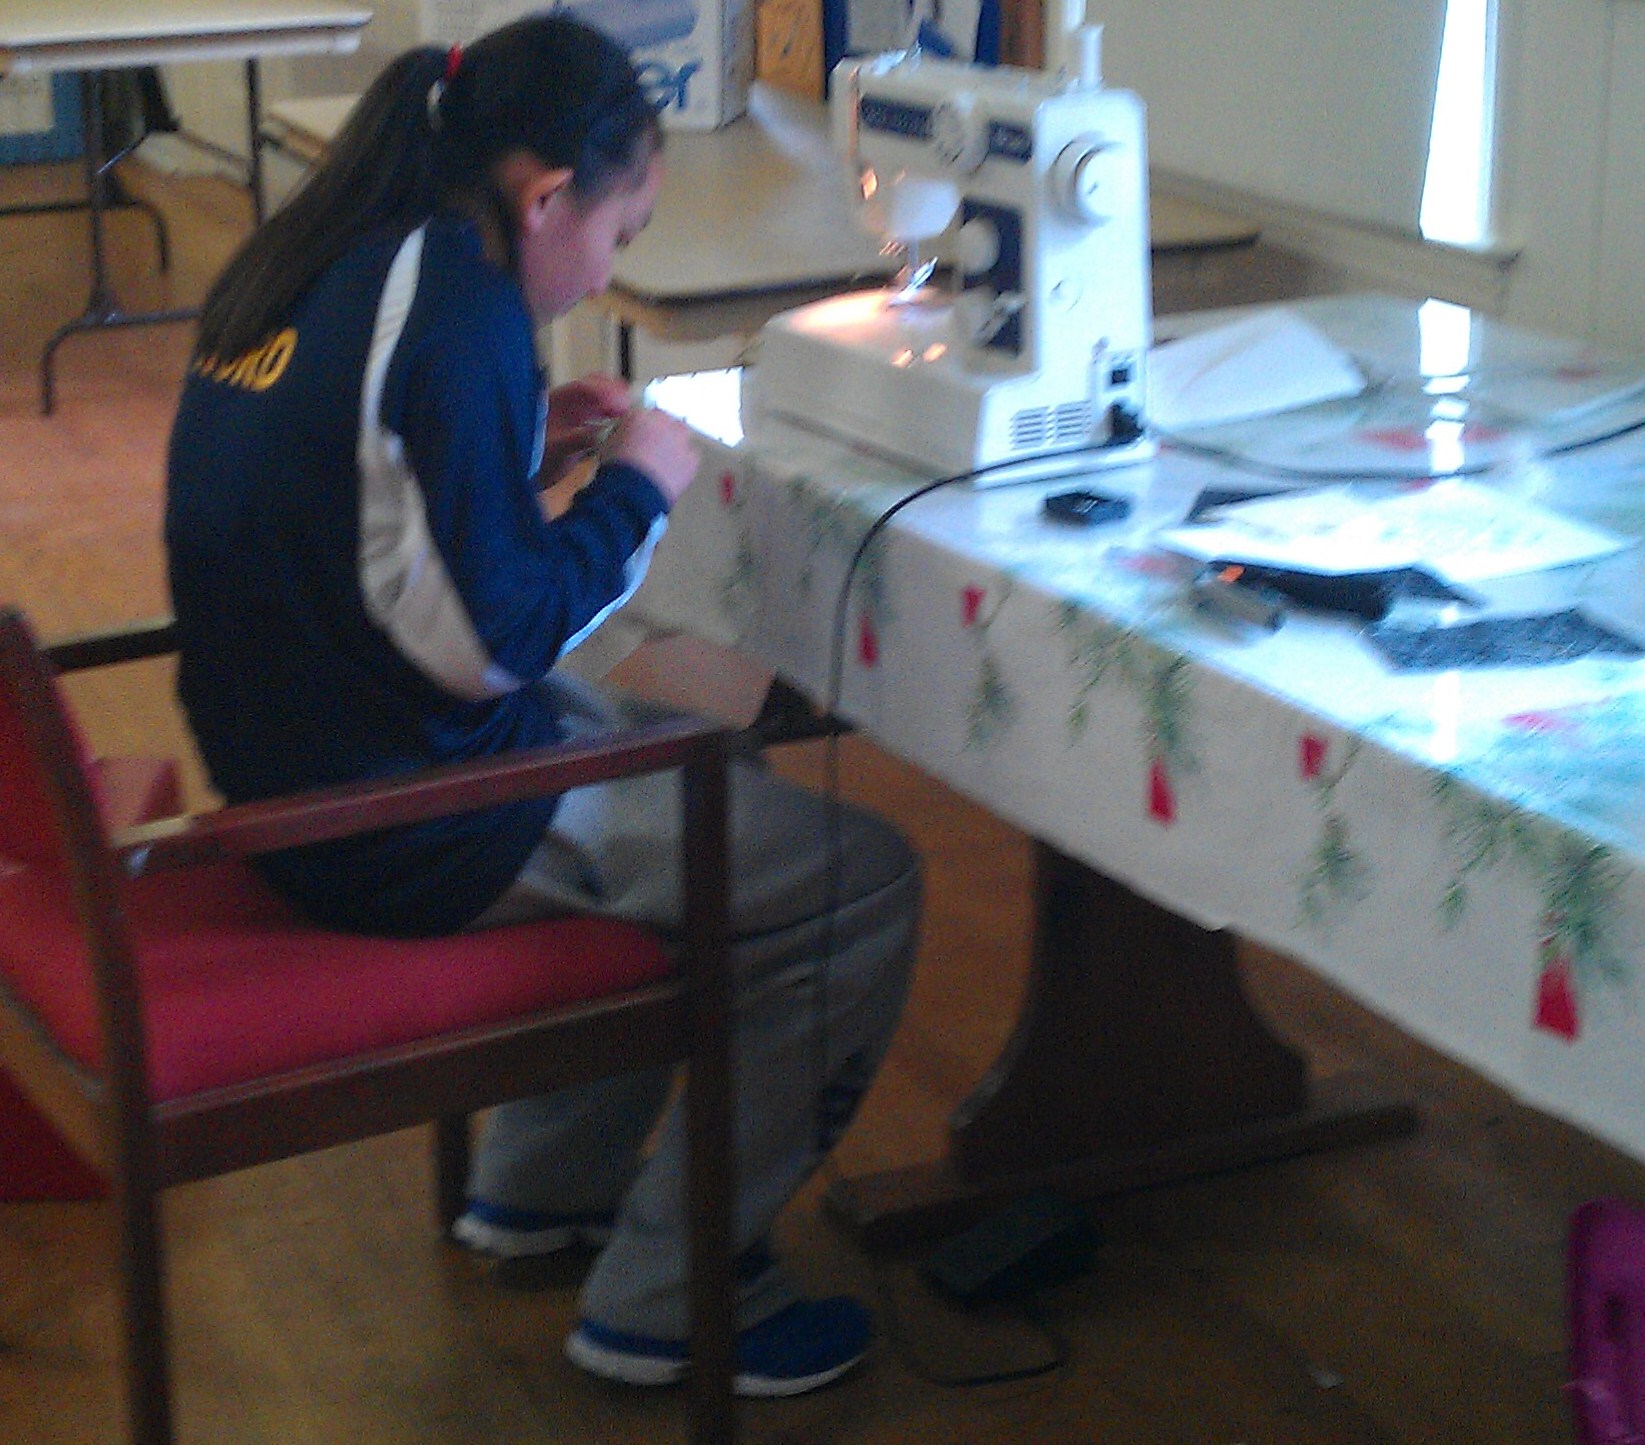
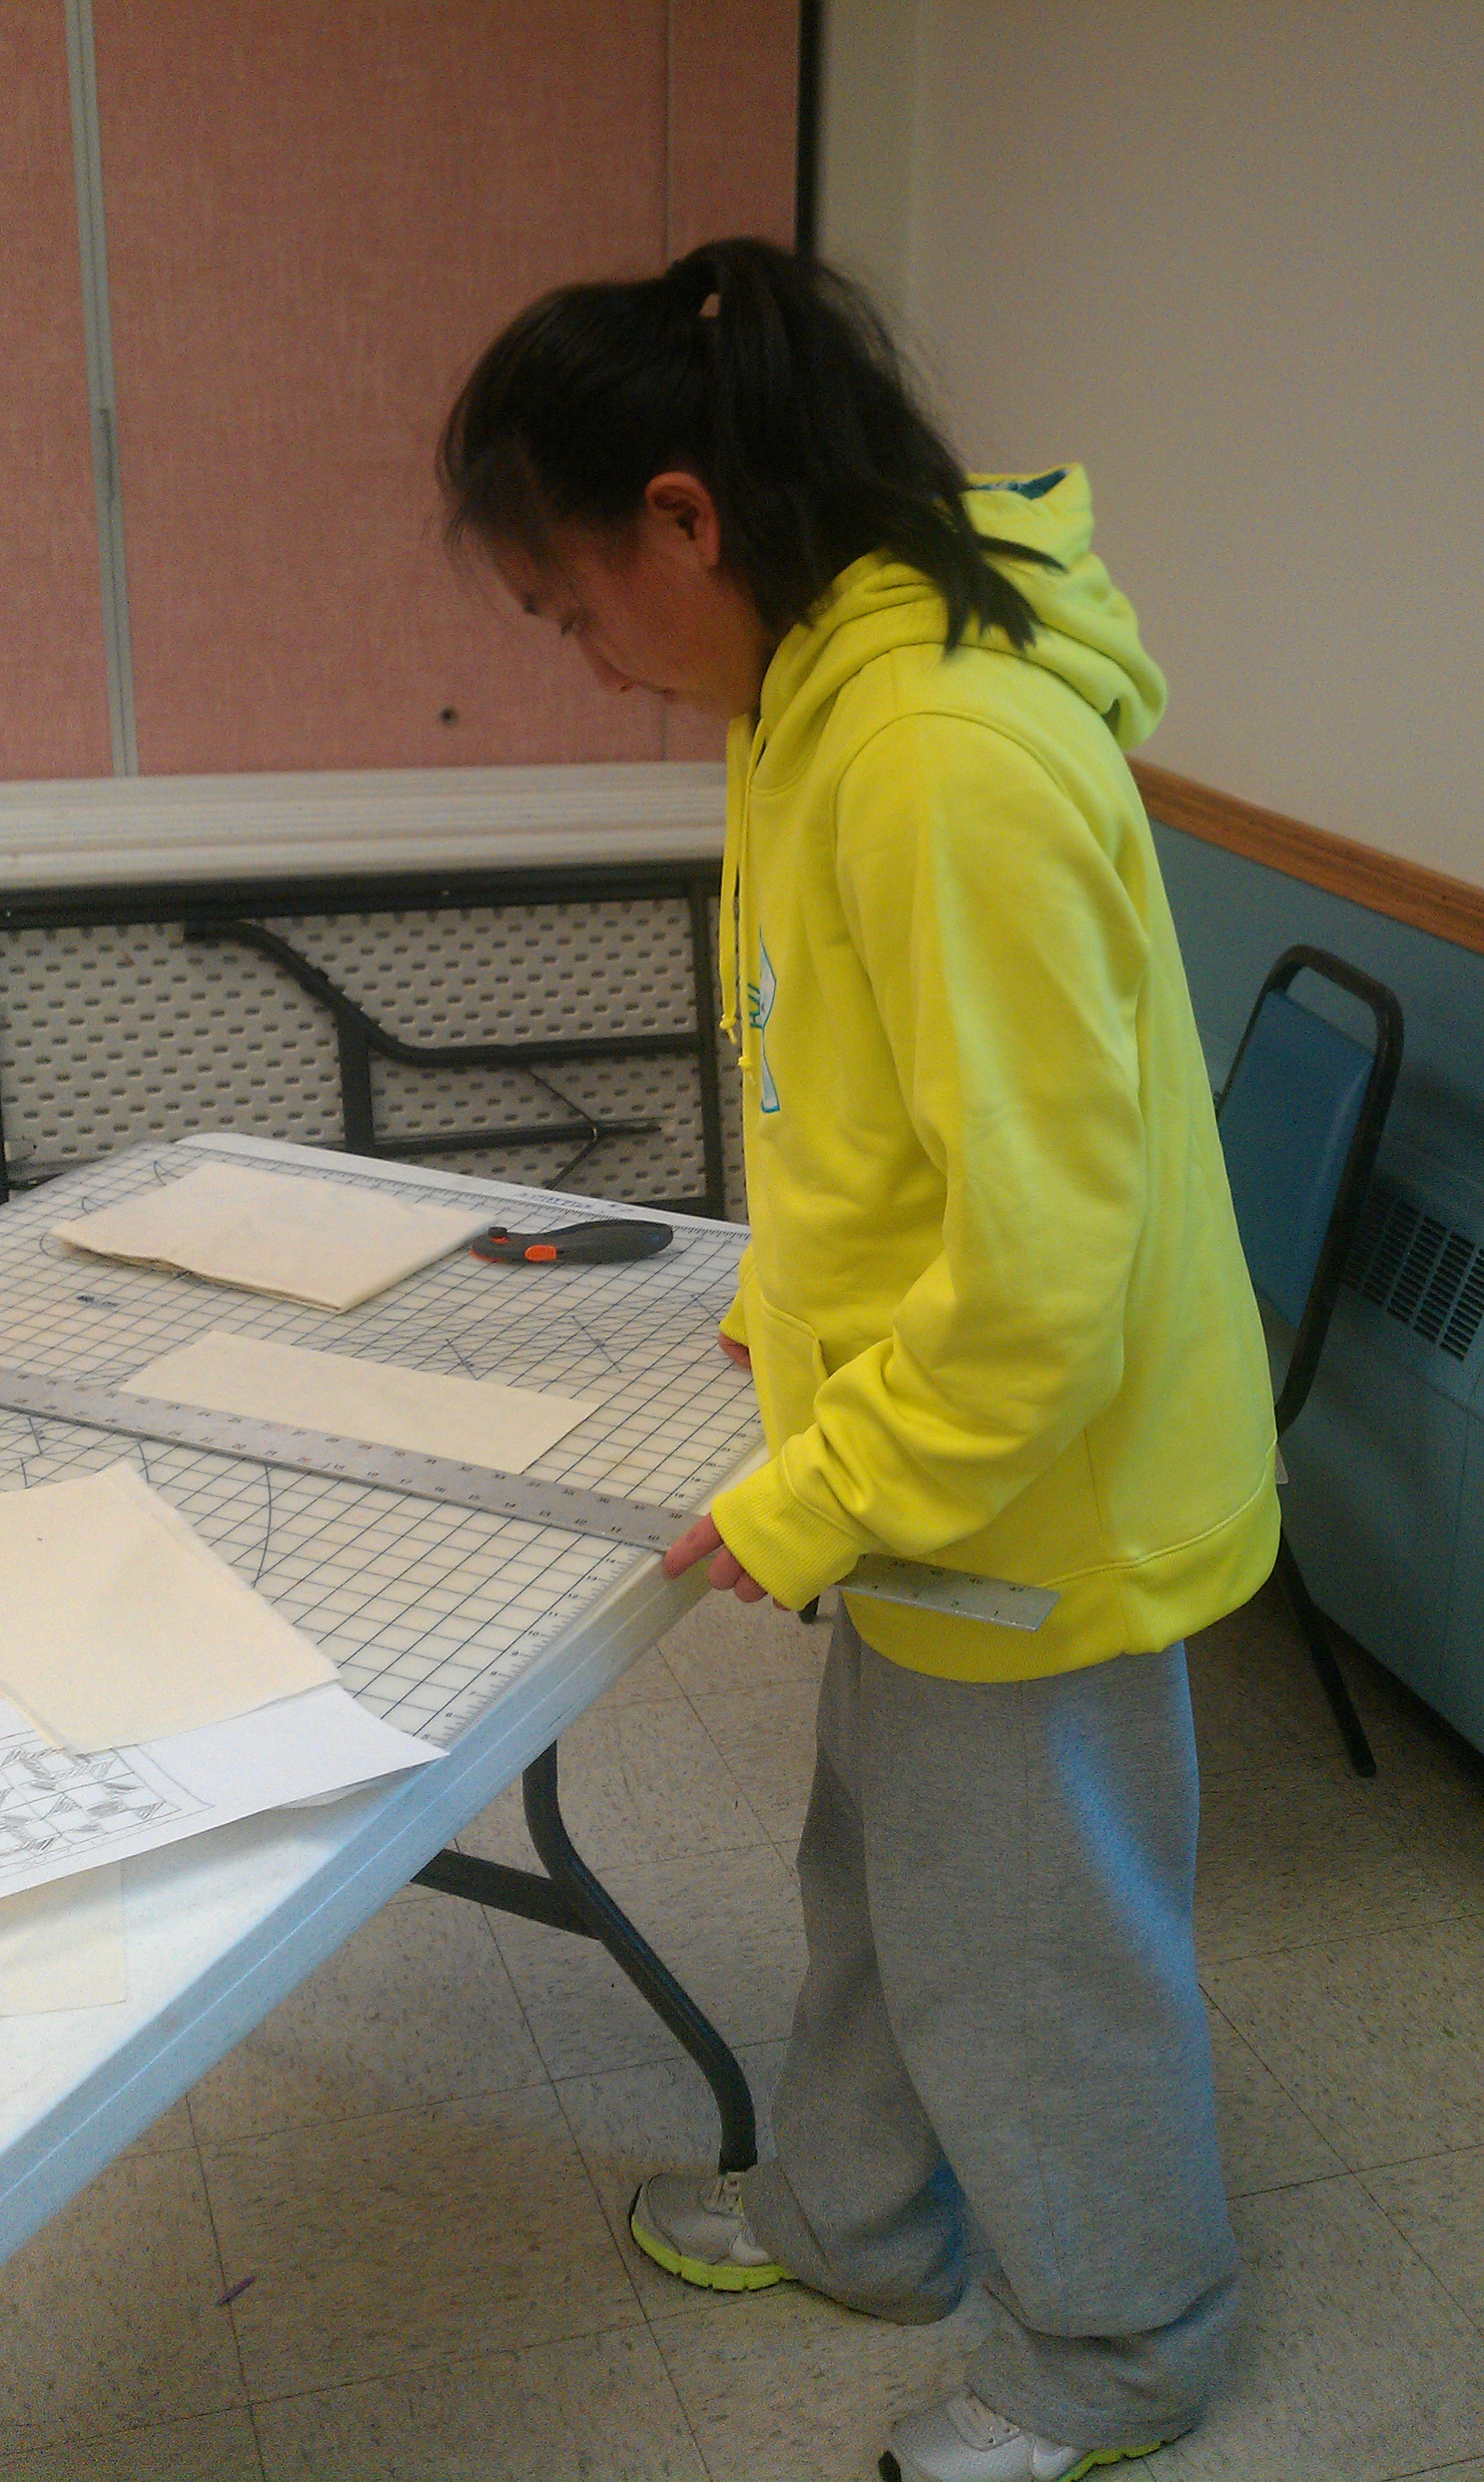
We keep dragging those machines into our meeting room but most of the girls needed the meeting to finalize fusing their pieces to the background.  So maybe next week we will begin applique lessons and think about how we will embellish our blocks, either by hand or by machine.  Youkilis2013 is the only one sewing a pieced block and she was actually able to start sewing those pieces together today.  The girls are smack in the middle of studying for mid-term exams so I will not harass them to update the blog this month. Here’s what we did:

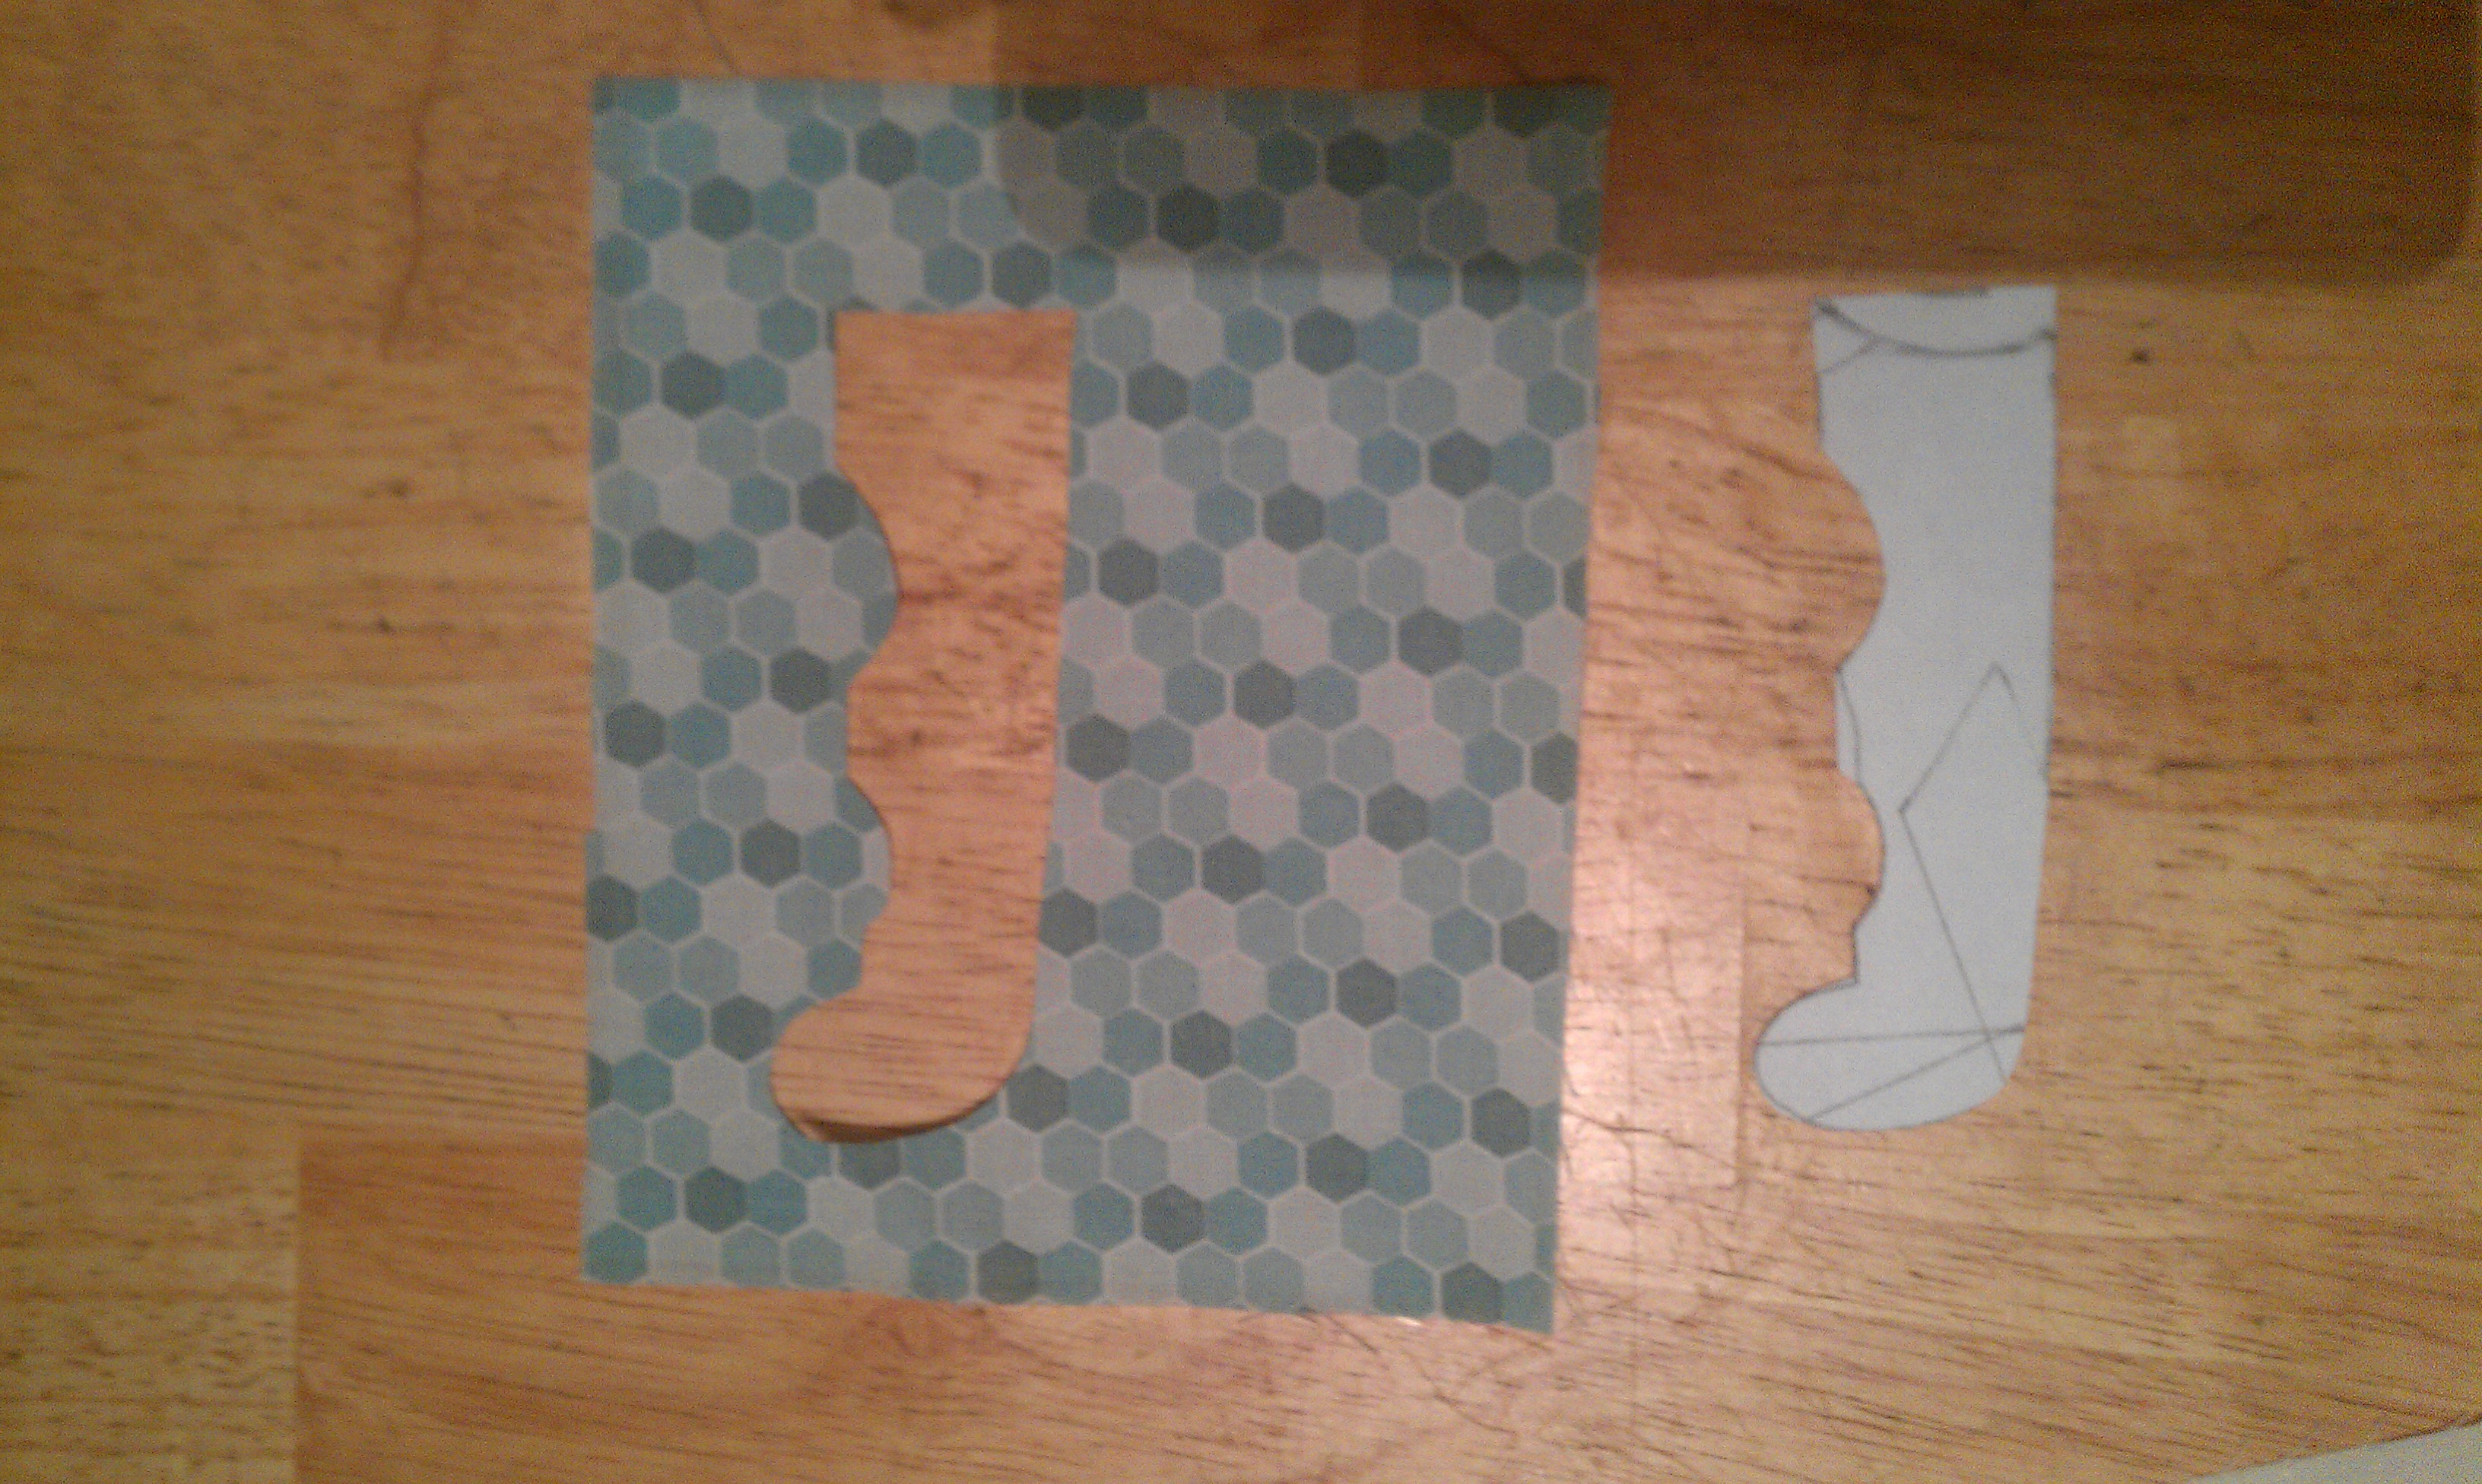
Freedom:  Youkilis2013 is making a classic Shoo-Fly block representing freedom.  Historically, the Shoo-Fly block  identified a person who could guide and help slaves escape along the Underground Railroad and who knew the codes.  Youkilis2013 joined her triangle sections together into squares and sewed the middle column of a classic 9-patch.

Girltopia

Shoo-Fly Block Design

Girltopia

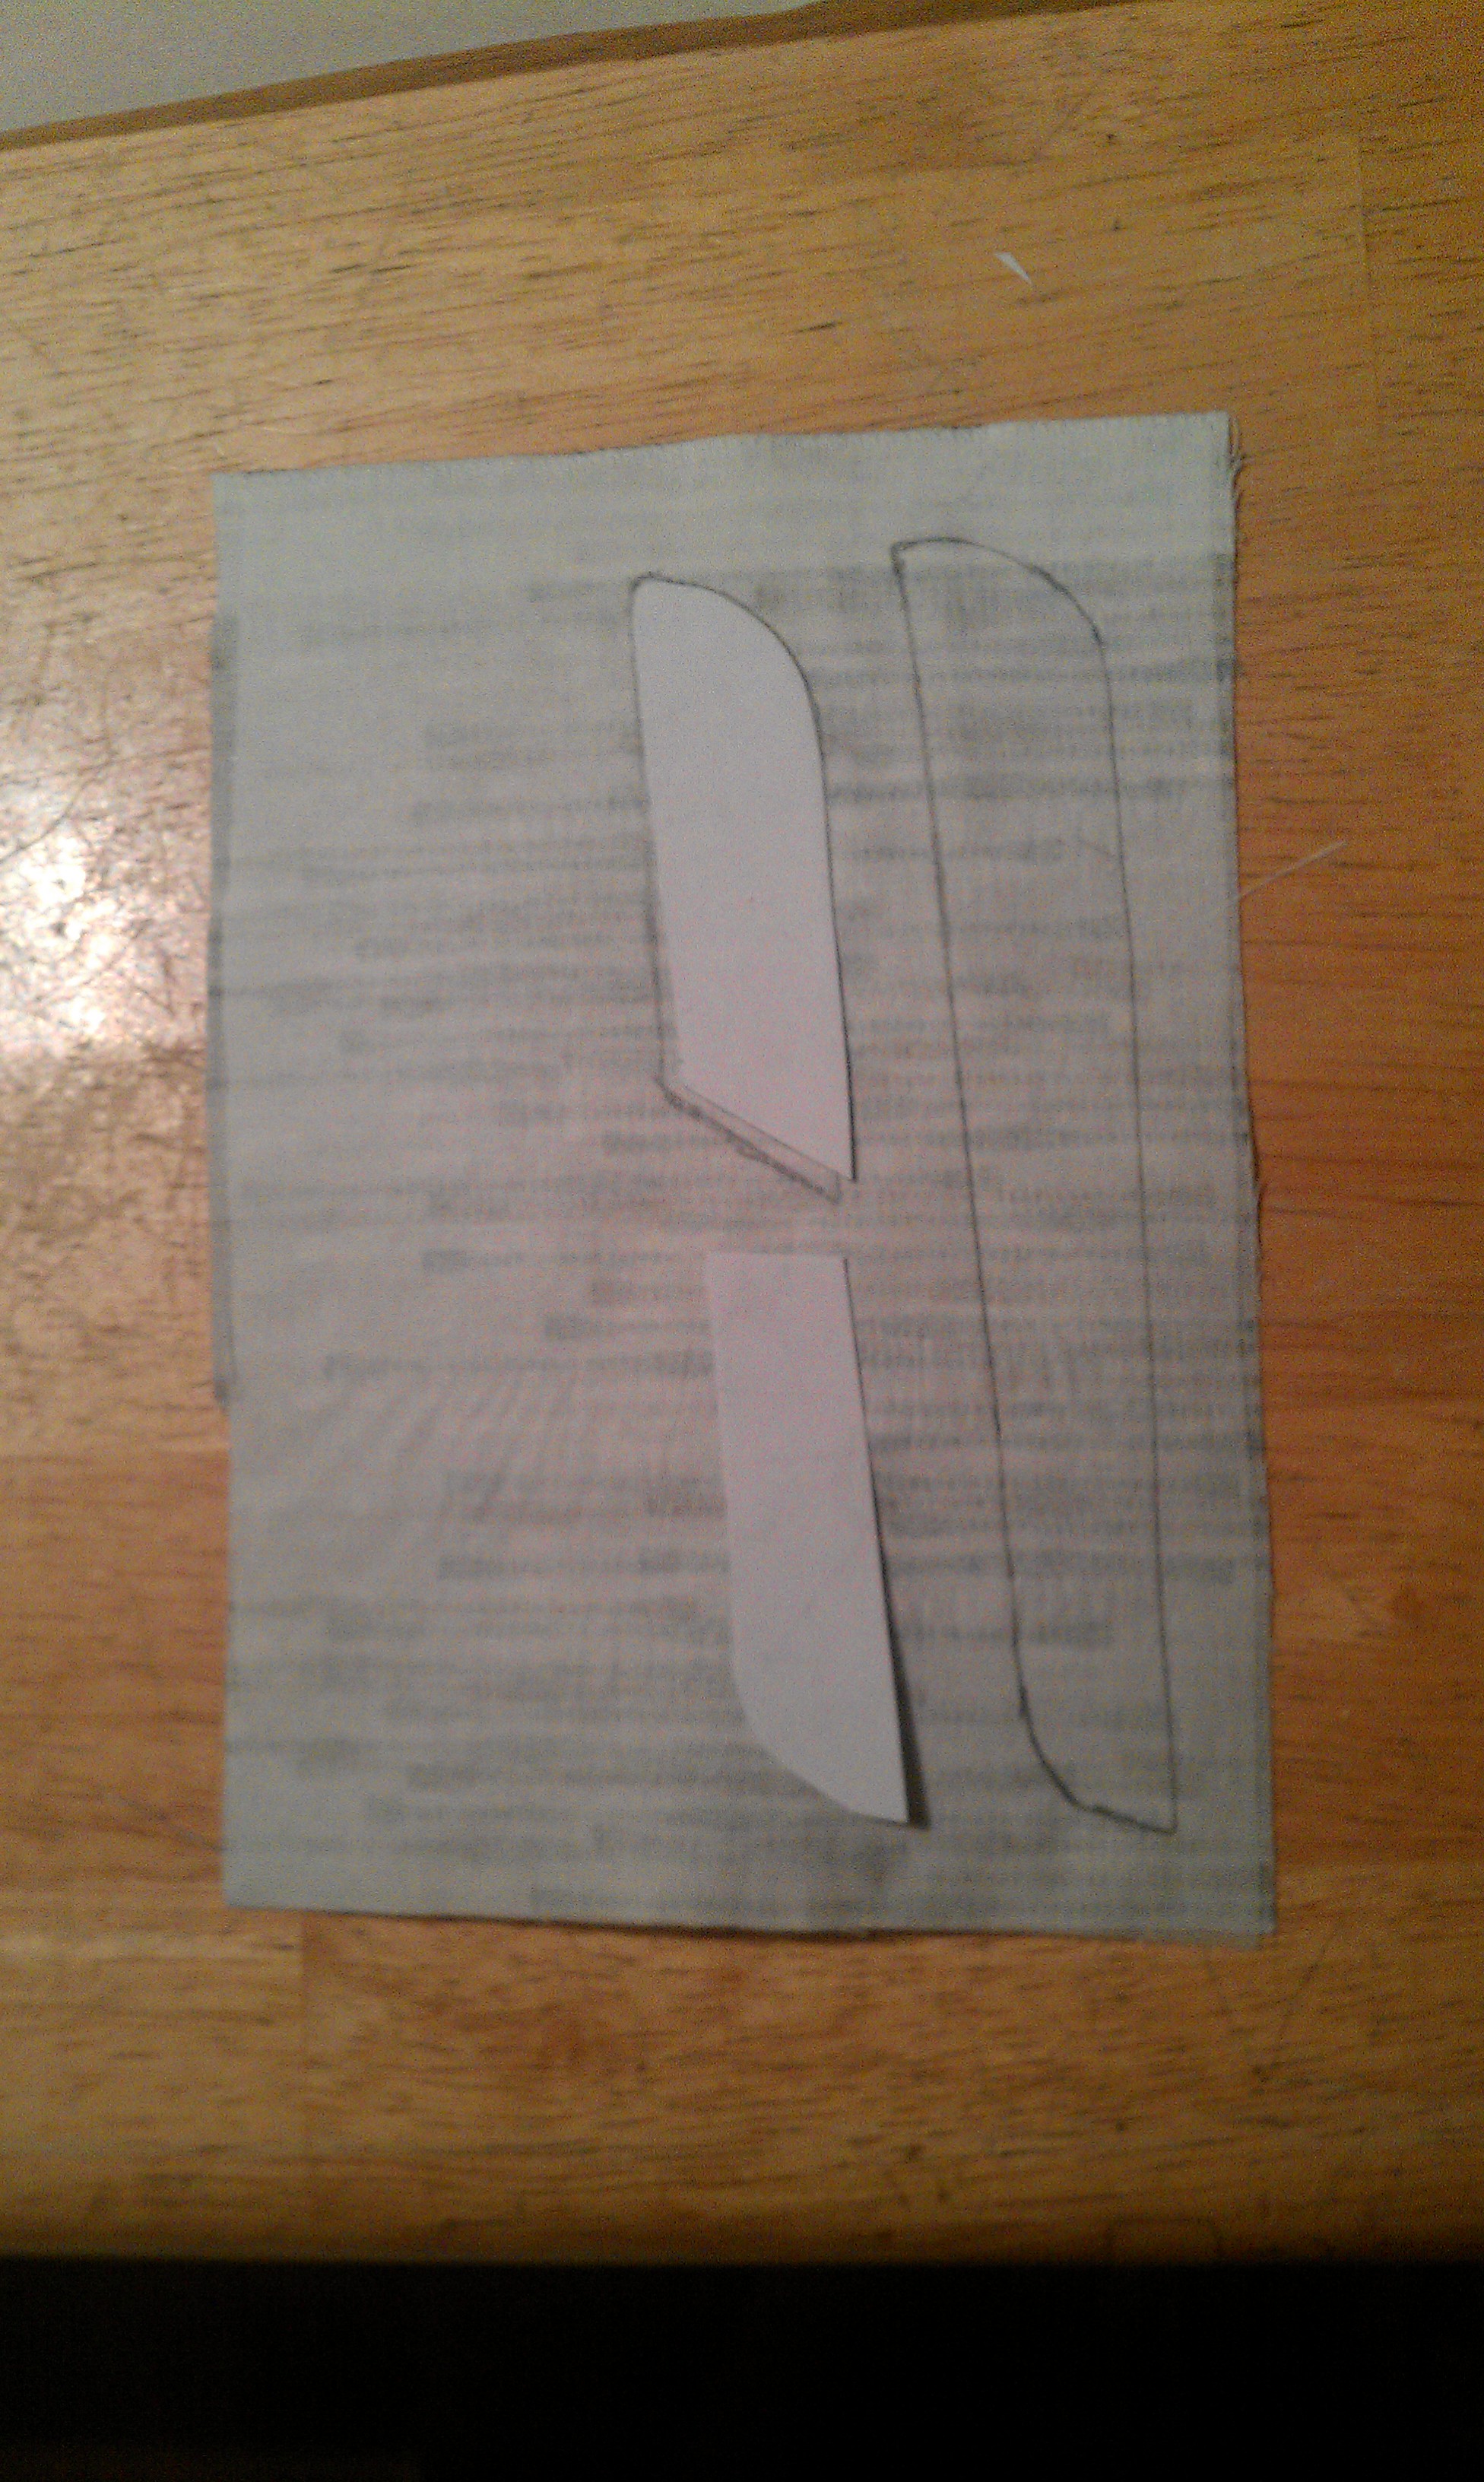
Ironing the seams toward the darker fabric side

Girltopia

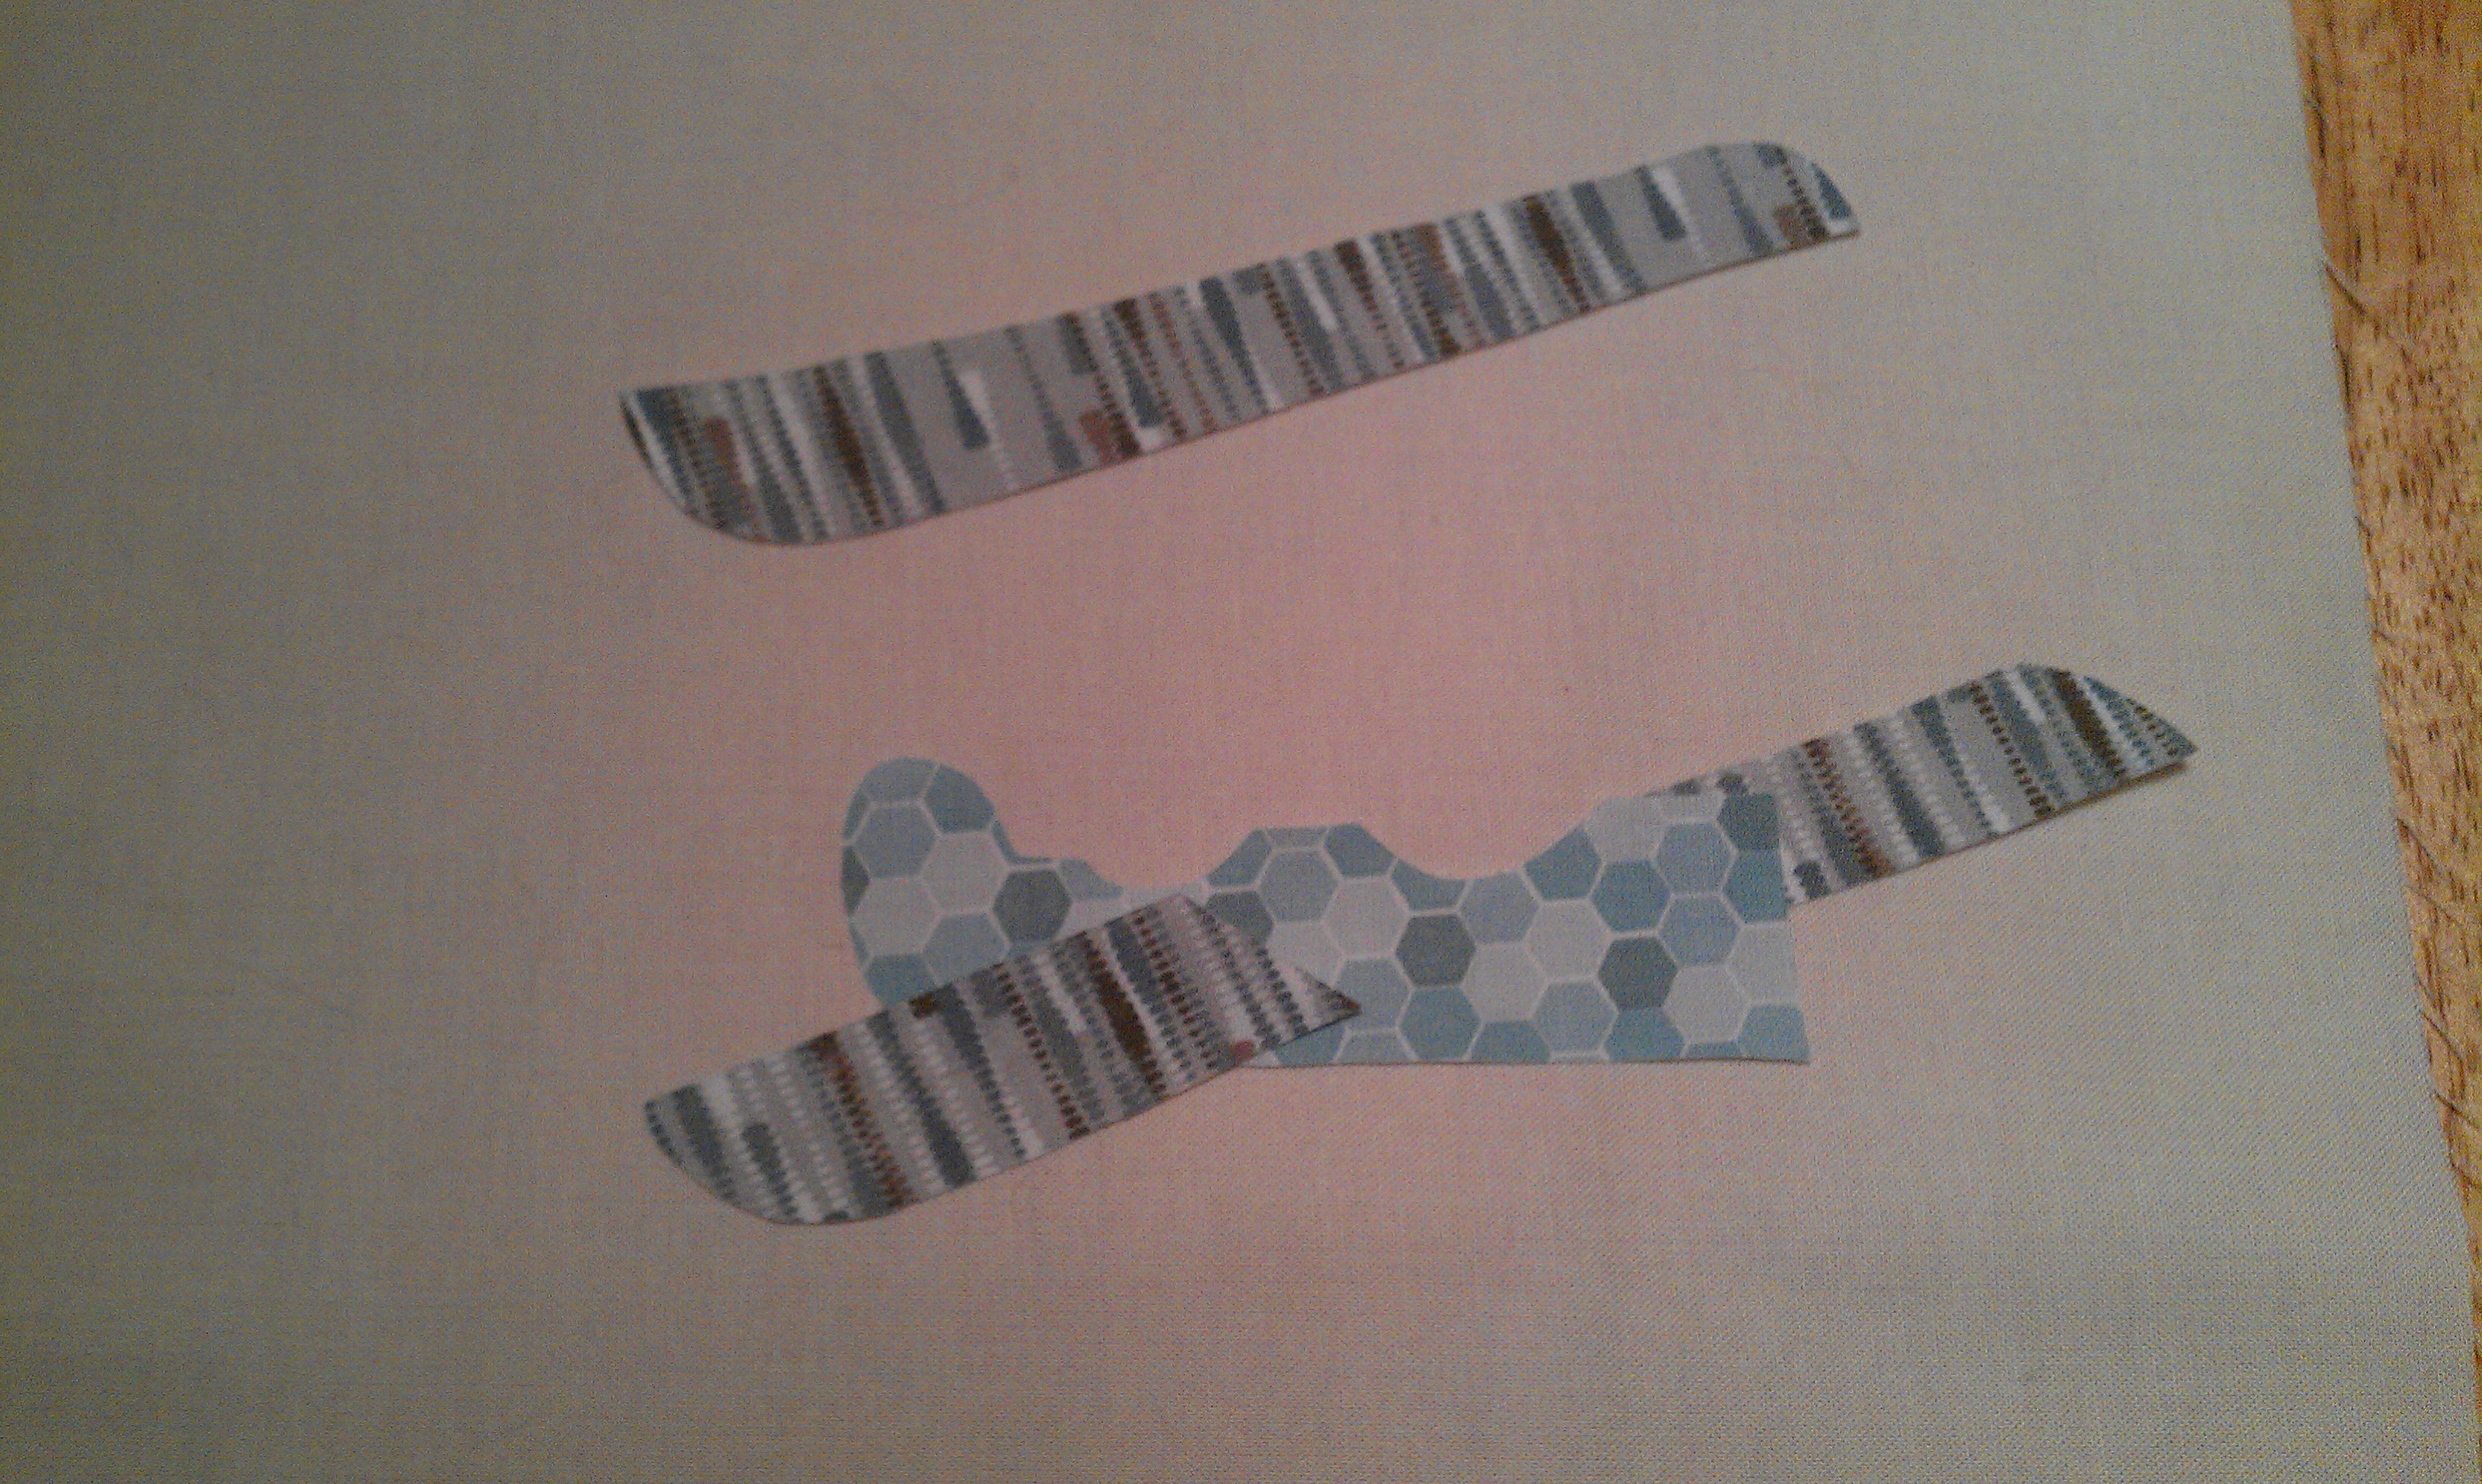
Sewing the triangles into squares

Kindness / Forgiveness / Honesty: Thesquid5 added the pendulum to her grandfather clock and spend the remainder of the meeting helping others and planning a joint Respect for all Humans block with Linds.

Girltopia

Gold pendulum added

Girltopia

Thequid5 and Penny525 getting advice from Mrs. Toe-Mom

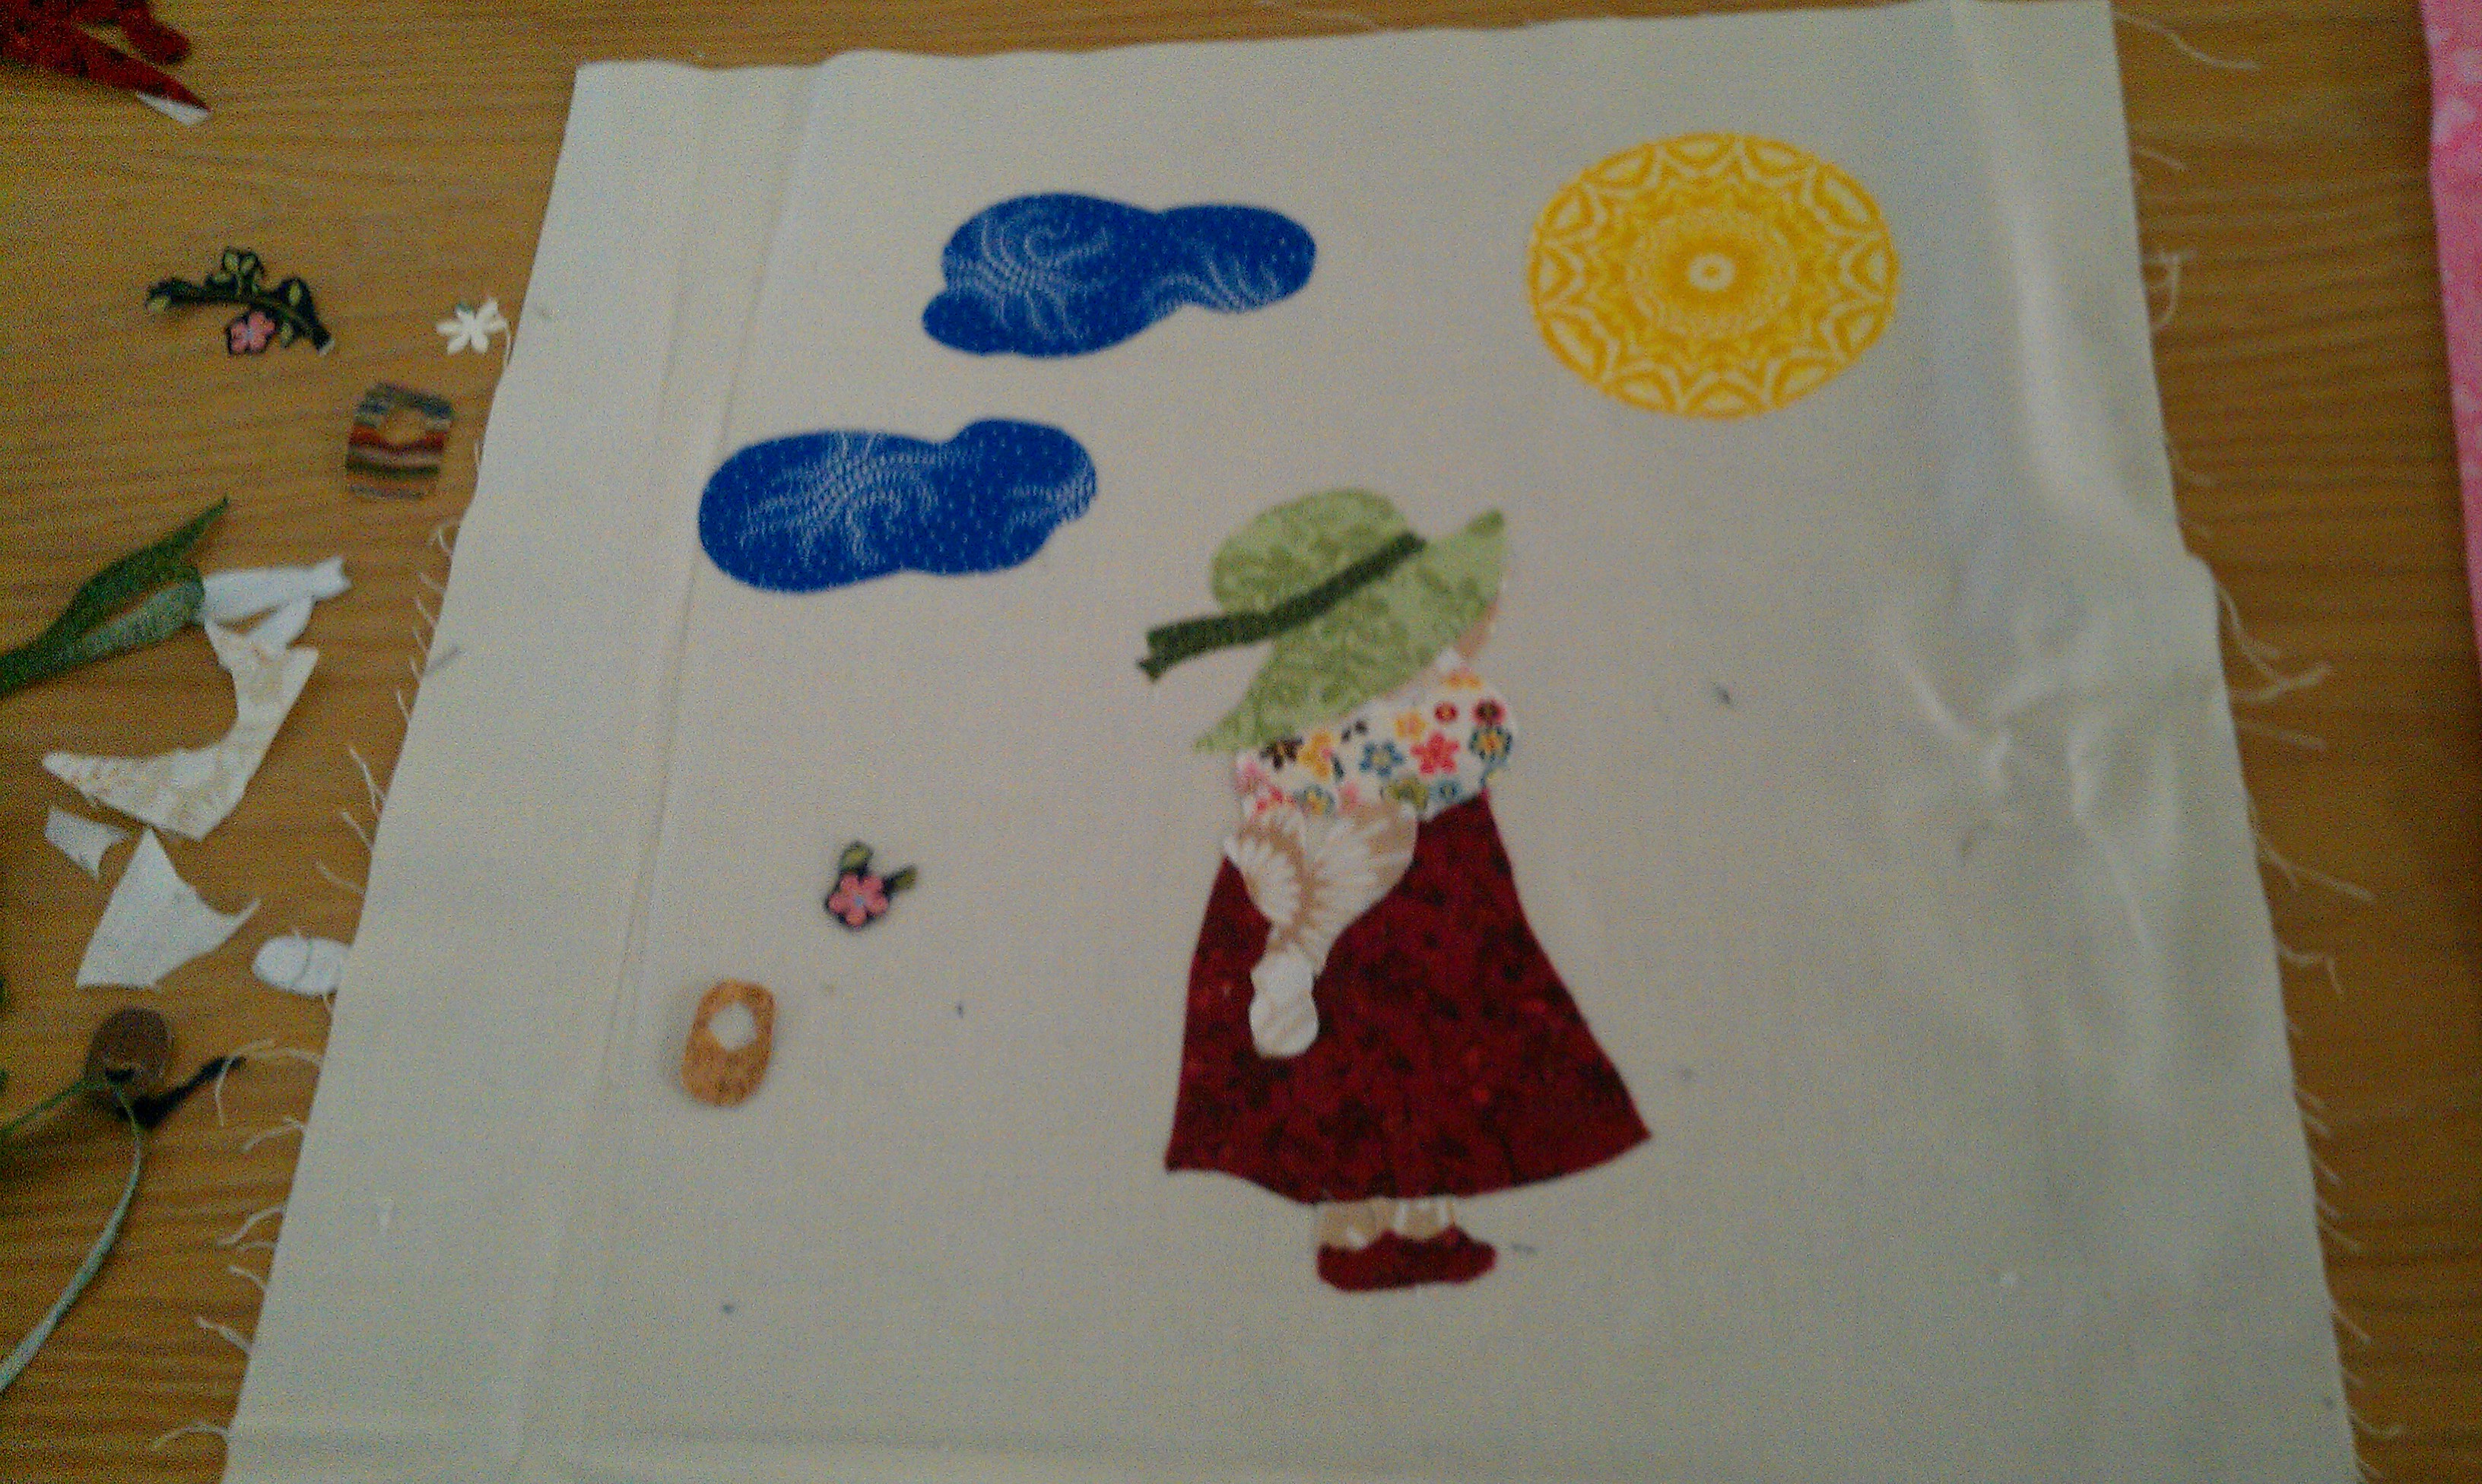
Shelter / Homelife: Penny525 added the heart behind her gingerbread house and fused her pieces to the background.

Girltopia

All girls deserve a loving family and a fairy-tale gingerbread home

Justice:Linds added the weighing baskets to her justice scale as well as the tiny male and female symbols she painstakingly cut out. She spent the remainder of the meeting co-designing the Respect for All Humans block with Thesquid5.

Girltopia

Added the weighing baskets and male/female symbols

Safety: Kamam10 is still cutting out the pieces that will become a girl on a swing underneath her very lifelike tree.

Girltopia

Creating a girl on a swing

Togetherness: As1898 fused her globe and 17 or her 18 people onto her background. One of the people refused to stay glued! So . . . she had to clone him/her.

Girltopia

17 out of the 18 fused!

Girltopia

Aiming for perfection

Peace: Fscsoccergirl had basketball practice and was unable to join us today. But she posted her progress earlier and Mrs. Toe-Mom brought her block to share and stayed to work on her own block.

Friendship: Mrs. Toe-Mom selected one fabric from each girl and each leader and these will become the 10 petals of her friendship flower.

Girltopia

Selecting the Friendship fabrics

Happiness: Mrs. S is still fussy cutting more and more little details such as bunches of flowers and a basket. We think she would do this all day if we let her!

Girltopia

I added the sun and am deciding between flowers and/or a basket

Girltopia

I still can’t decide!

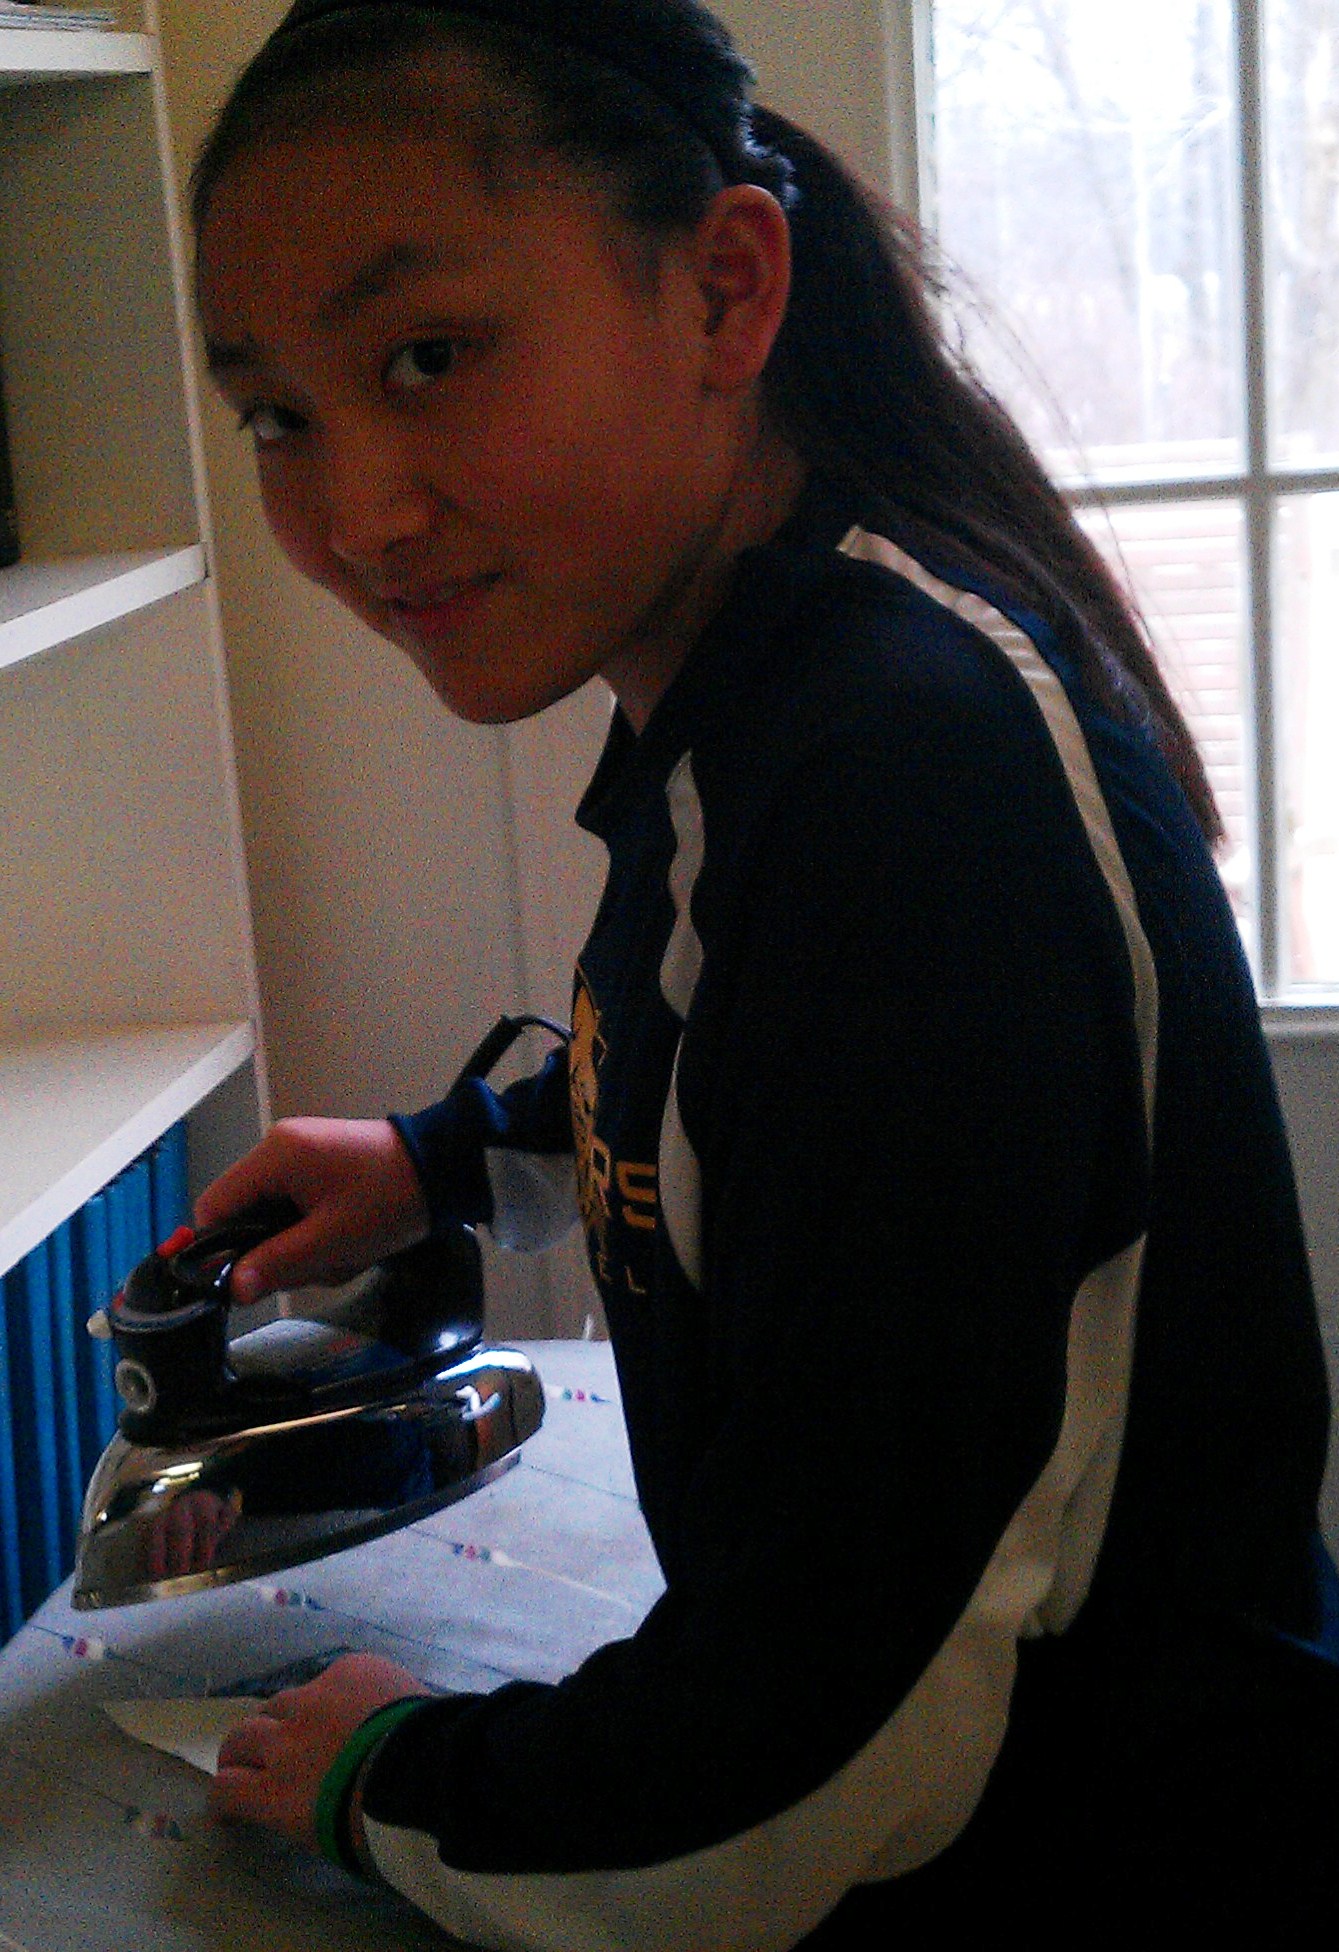
Moms we count on: Special thanks to Youkilis2013’s mom for staying to help; Lindz’s mom for bringing cupcakes and juice; and As1898’s mom for helping out with the ironing and for keeping the leaders sane.

Girltopia

As1898’s mom ironing

Categories: GIRLtopia Blocks, Meetings | Tags: , , , , , , , , , | 1 Comment

Fusing Your Pieces to the Background

These are taken directly from the Pellon 805 Wonder-Under  Transfer Web instructions (if green, I added a tidbit):

Step 1:  PRESS & CUT

Place rough side of Wonder-Under (R) against wrong side of fabric.  Press for 5-8 seconds with hot, dry iron.  Let cool, draw desired shape onto paper backing, then cut.

Step 2:  PEEL & FUSE

Gently peel off paper backing.  Position fusible fabric web side down, on the project. Set briefly (a second or two) with iron to hold in place.  Cover with DAMP press cloth.

  • With iron at wool setting, press FIRMLY for 10-15 seconds.  (Heavier fabrics = more time.)  ALWAYS USE A DAMP PRESS CLOTH AND PRESS DOWN FIRMLY FOR 10-15 SECONDS.  Repeat, lifting and overlapping iron until all fabric is fused. For multiple layers, fuse a single layer at a time.
  • Remove press cloth and iron fabric to eliminate excess moisture.

Tip:  Use your damp press cloth as a temperature and timing guide.  After 10 seconds, press cloth should be dry.  If not, raise iron temperature or hold iron in place a few seconds longer.

Categories: GIRLtopia Blocks | Tags: , | Leave a comment

Freedom Block

My block is different from most of the others since I am piecing my block rather than using applique.  I am using a design that represents the Underground Railroad.  I spent the meeting time cutting out the squares, rectangles, and triangles I will need using a rotary cutter.  I am using beige and black fabric.
I chose the underground rail road for my freedom block because I had some background about it from experiencing it and how it affected the slaves. I had learned that they could trust certain people with symbols. The one block to the quilts is a monkey wrench. The monkey wrench is where there were tools available. I also learned that the boat trip was painful both mentally and physically. The labor was hard physical labor and the knowing fact that the southern white men could punish us at a minimum was mentally harsh. This is important because I realized then that we (as people now) should never take anything for granted. We should always be thankful and happy for what we have… We shouldn’t complain about small facts… They were brave and didn’t… They put their minds together and were courageous.

Cutting the black pieces

Cutting the black pieces


Cutting the beige pieces

Cutting the beige pieces

Categories: GIRLtopia Blocks | Tags: , , , | 2 Comments

Career/Hobbies Assembly Day 1

Today I was motivated by my son who, unhappy with the cost and fit of a cycling cap, designed and sewed his own cycling cap.  This was out of character for him and quite surprising.  I took advantage of his stationary state at the kitchen table and joined him to begin work on my Career/Hobbies block.  The first thing I did, and I suggest everyone do this, was make several copies of my sketch so I could use the pieces as pattern templates.  I fused Wonder-Under to the back of small rectangles of fabric and then traced the patterns on the back.  IMPORTANT!  YOU NEED TO PUT YOUR PATTERN PIECES RIGHT SIDE DOWN FOR TRACING, OTHERWISE EACH PIECE WILL FACE THE OPPOSITE WAY YOU INTENDED.  The following photos document my progress today.


Assemble-1

I started with the body of the airplane.


It felt good to place that first piece on the background square.


This shows how I traced the wings on the paper-backing of the fusible webbing.

This shows how I traced the wings on the paper-backing of the fusible webbing.


The wings with the body on the background square.

The wings with the body on the background square.


The plane is starting to take shape with the addition of the propeller blades.

The plane is starting to take shape with the addition of the propeller blades.


I added Harriet Quimby's brown hair, the purple hood from her famous self-designed flying suit, and the goggles I fussy-cut from the bubble fabric I had.  I am not happy with the goggles.  They make her look like an alien!

I added Harriet Quimby’s brown hair, the purple hood from her famous self-designed flying suit, and the goggles I fussy-cut from the bubble fabric I had. I am not happy with the goggles. They make her look like an alien!


I changed the goggles to a dark brown but added circular cutouts from the previous pair of goggles.  I decided to make the scarf red.  My son suggested a shiny metallic fabric would be better for the knitting needles.  I will dig in my stash.

I changed the goggles to a dark brown but added circular cutouts from the previous pair of goggles. I decided to make the scarf red. My son suggested a shiny metallic fabric would be better for the knitting needles. I will dig in my stash.


I like the addition of the blue streaky clouds.

I like the addition of the blue streaky clouds.


This is the gold shiny fabric I am considering using for the knitting needles.  I will mull it over.

This is the gold shiny fabric I am considering using for the knitting needles. I will mull it over.

That is all for now! I look forward to seeing everyone else’s progress on finalizing your sketches.

Categories: GIRLtopia Blocks | Tags: , , , , | Leave a comment

The Colors of Harriet Quimby

Career/Hobbies Block Sketch #3I am almost ready to begin cutting out the applique pieces for my Career/Hobbies Block featuring Harriet Quimby in her Bleriot biplane.  However, I am not very skilled with colors.  Here is what I have come up with so far.  We all agreed to use some of the red and green sashing within our block.  I will make the knitting needles red and the land of my globe green.  I am not sure if the green will be fabric, yarn, or embroidery floss masquerading as yarn.  My intended white clouds will not show up against a cream background so I may use a blue and white streaked fabric.  For the plane I have two silver/grey/blue fabrics; one is very geometric which appeals to my love of mathematics; the other has streaks which I think will look fabulous on the wings.  I will use a small scrap of brown for Harriet’s hair as she appears brunette in historical aviation photos, although they are black and white.  I am worried about the small size of the flying goggles and am considering fussy cutting some bubble fabric I have on hand.  Finally, I would like to stay true to Harriet’s self-designed purple satin hooded flying suit and I just happen to have a scrap of purple satin from a Halloween jester costume.  Does anyone have any thoughts or suggestions?

ChoosingFabricsFussyCutIdea

Categories: GIRLtopia Blocks | Tags: , , , , | 2 Comments

Preparing the Background

I was hoping to be reading posts from the girls at this point but alas, here I am alone on the blog again.  As a way of lifting my spirits, I cut the background blocks for the GIRLtopia quilt.  This way when we meet in December, the girls can jump right into cutting the pieces for their applique.  (All except Lindsay, who is making a pieced block from the historical freedom trail.)  Here is what I did:

ToolsIronTrimEdge1StripSquares

  1. I located my large cutting mat, my long metal ruler, and my rotary cutter.  I attempted to sharpen the cutting blade but am not adept at it and eventually just replaced the blade.  The washer went flying across the floor in the process, and Jo-Jo and Baby (cats) batted it around for a while, but I rescued the washer and continued the task at hand.  You may notice that I do not have a typical quilting ruler, but rather a trusty metal ruler from Home Depot.  It works for me.
  2. I was reluctant to iron the fabric because my cats tend to want to jump on anything I iron.  I solved this problem by feeding them.
  3. I trimmed off the uneven edge.
  4. I cut six 12.5-inch strips across the width of the fabric.
  5. I piled all six strips neatly on top of one another; trimmed off the uneven edges; and cut three 12.5-inch squares from each strip.  This amounted to 18 squares.  We need 15 background squares for the appliqued blocks so this leaves some wiggle room for error (not us!).

Next up, the green sashing and the red squares to join them.

Categories: GIRLtopia Blocks | Tags: , | Leave a comment

Fabric Shopping Spree

Troop 62019 at the Fabric Store
(School Identifications Removed)

Can 7 girls and 4 moms agree on the fabric for one quilt?  Of course we can.  The moms stood by while the girls made selections, narrowed down the choices, and voted for their favorites.  In the end, the girls purchased a bone-colored muslin for the background, a dark green vine for the sashing, a cranberry maroon vine contrast color, and about 36 fat quarters.  Best of all, with all of our coupons, we were under our anticipated budget.  After the new year, we will be looking for more coupons for the backing, batting, and embroidery floss.

Cranberry Vine Contrast

Bone Background

Dark Green Vine Sashing

Fat Quarters

More Fat Quarters

Categories: GIRLtopia Blocks, Meetings | Tags: , , | 2 Comments

Create a free website or blog at WordPress.com.